
Tutorial: https://youtu.be/-pMDM0Fp5tk?si=9XEbcoPApMSUnlNa

Tutorial: https://www.schoolofmotion.com/blog/amazing-expressions-in-after-effects

Tutorial: https://youtu.be/-pMDM0Fp5tk?si=9XEbcoPApMSUnlNa

Tutorial: https://youtu.be/XHBqZzm4KYE?si=FeD4TnmlShb7spMl
Tutorial: https://www.schoolofmotion.com/blog/rotation-expressions-after-effects

Tutorial: https://youtu.be/JlrmLlg07eI?si=UqcL--EfYsHhfg0W

Tutorial: https://www.youtube.com/watch?v=BwtGtlE_GA8

Tutorial: https://youtu.be/-pMDM0Fp5tk?si=9XEbcoPApMSUnlNa

In this project, I created a smooth wheel rotation animation in After Effects, utilizing an expression-driven approach to enhance its realism. By applying the expression thisLayer.transform.position[0] * .8, I synchronized the wheel’s rotation speed with its horizontal movement, ensuring fluid motion as the wheel turns.
The use of expressions allowed for precision and automation, simplifying the animation process while maintaining a dynamic and natural-looking rotation. This technique demonstrates my ability to integrate After Effects scripting into my workflow to create efficient and visually appealing animations. The result is a clean and minimalistic animation, highlighting the power of expressions in motion design.

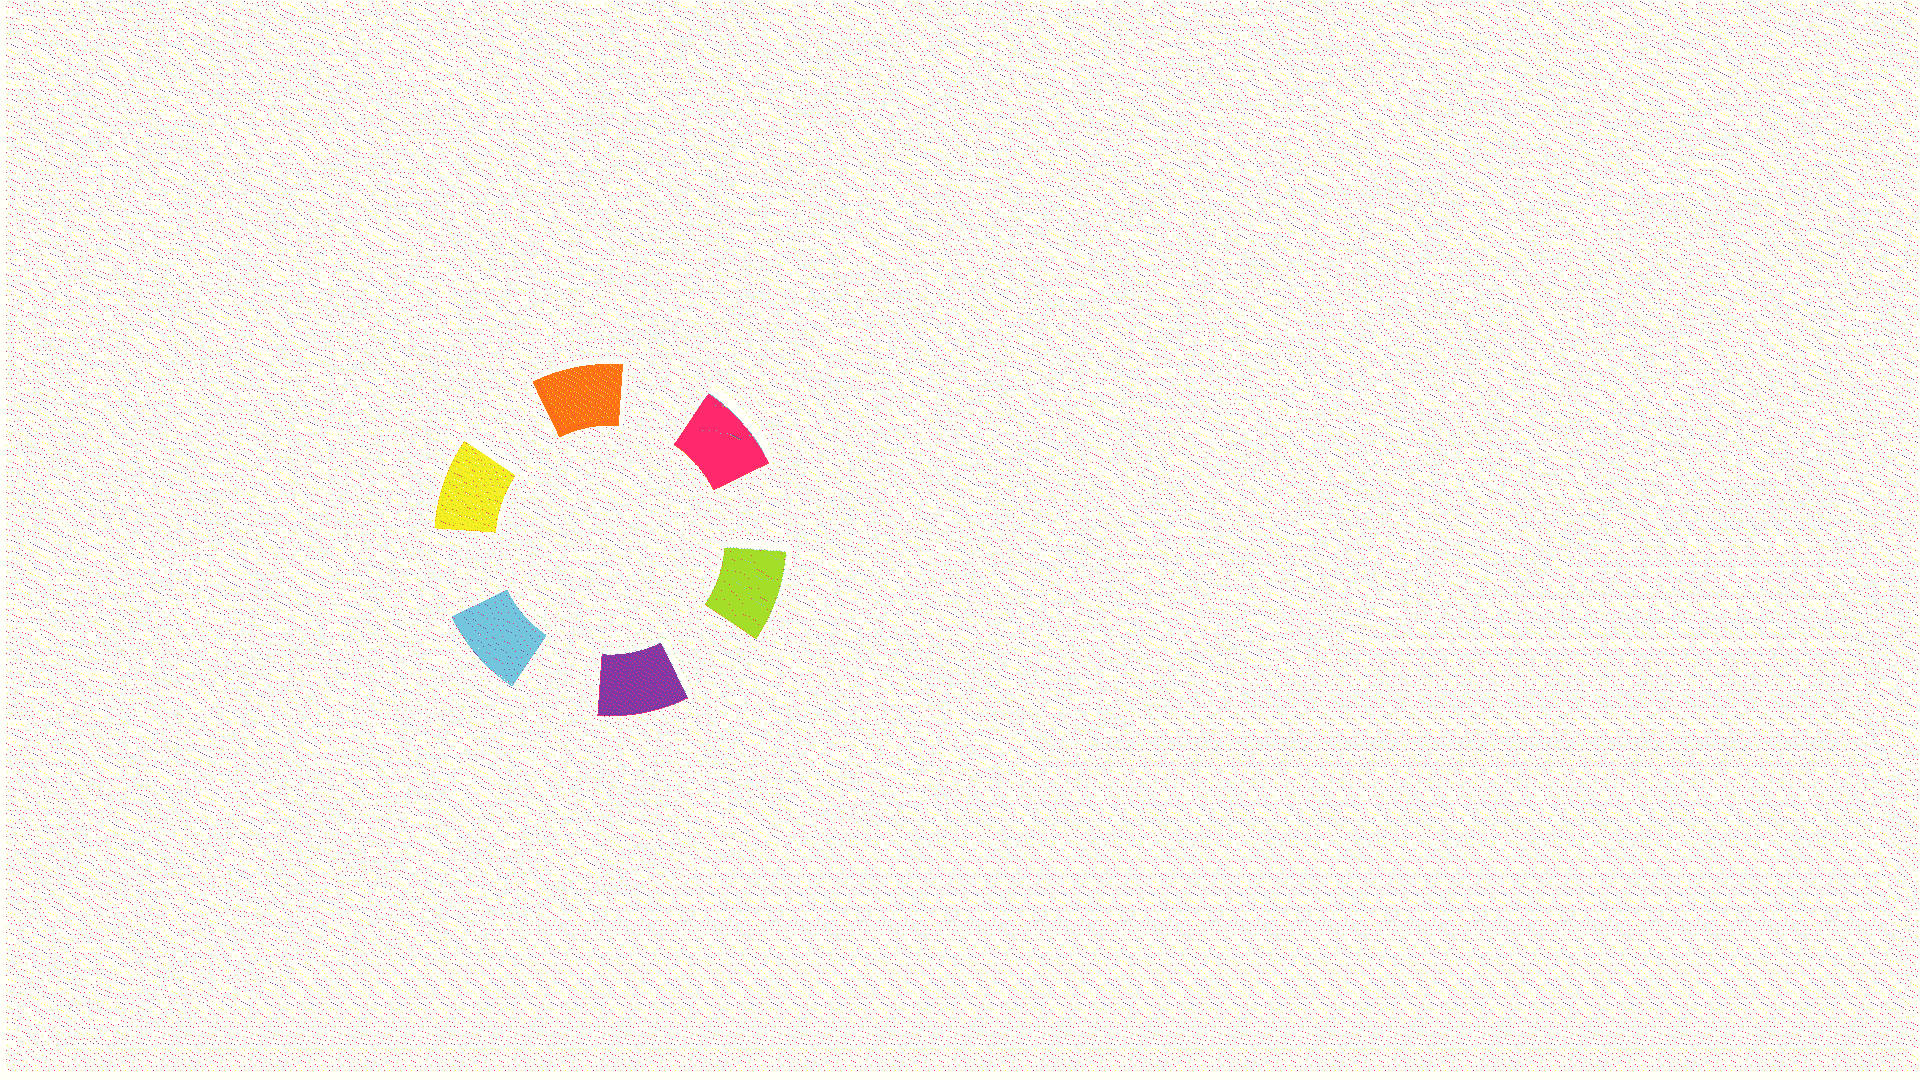
This animation focuses on the dynamic transformation of a polystar shape, driven by an advanced expression in After Effects. The expression thisComp.layer(index-1).content("Polystar 1").content("Polystar Path 1").outerRadius.valueAtTime(time-.5) controls the outer radius of the polystar, allowing for synchronized and smooth adjustments in size over time.
This expression returns the value of another layer at a specific time. Think of it as pick-whiping to the value of another layer at a very specific moment in the timeline.
By referencing the previous layer and altering the radius with a time offset, the animation creates a cascading, ripple-like effect as the polystar grows and shrinks in sync with the timeline. This approach adds an element of fluidity and precision to the motion, showcasing my ability to use expressions for creating intricate, time-based animations that would be tedious to animate manually.
To create this Animated Traced Path or Diverging path I used two expressions. The first one: if(thisProperty.propertyGroup(1)("Pseudo/ADBE Trace Path-0002") == true && thisProperty.numKeys > 1){ value; } else { value }
The second one: loopOut(type = "cycle" numKeyframes = 0)
I also used an Echo effect to create a simple visual echo for a circle.

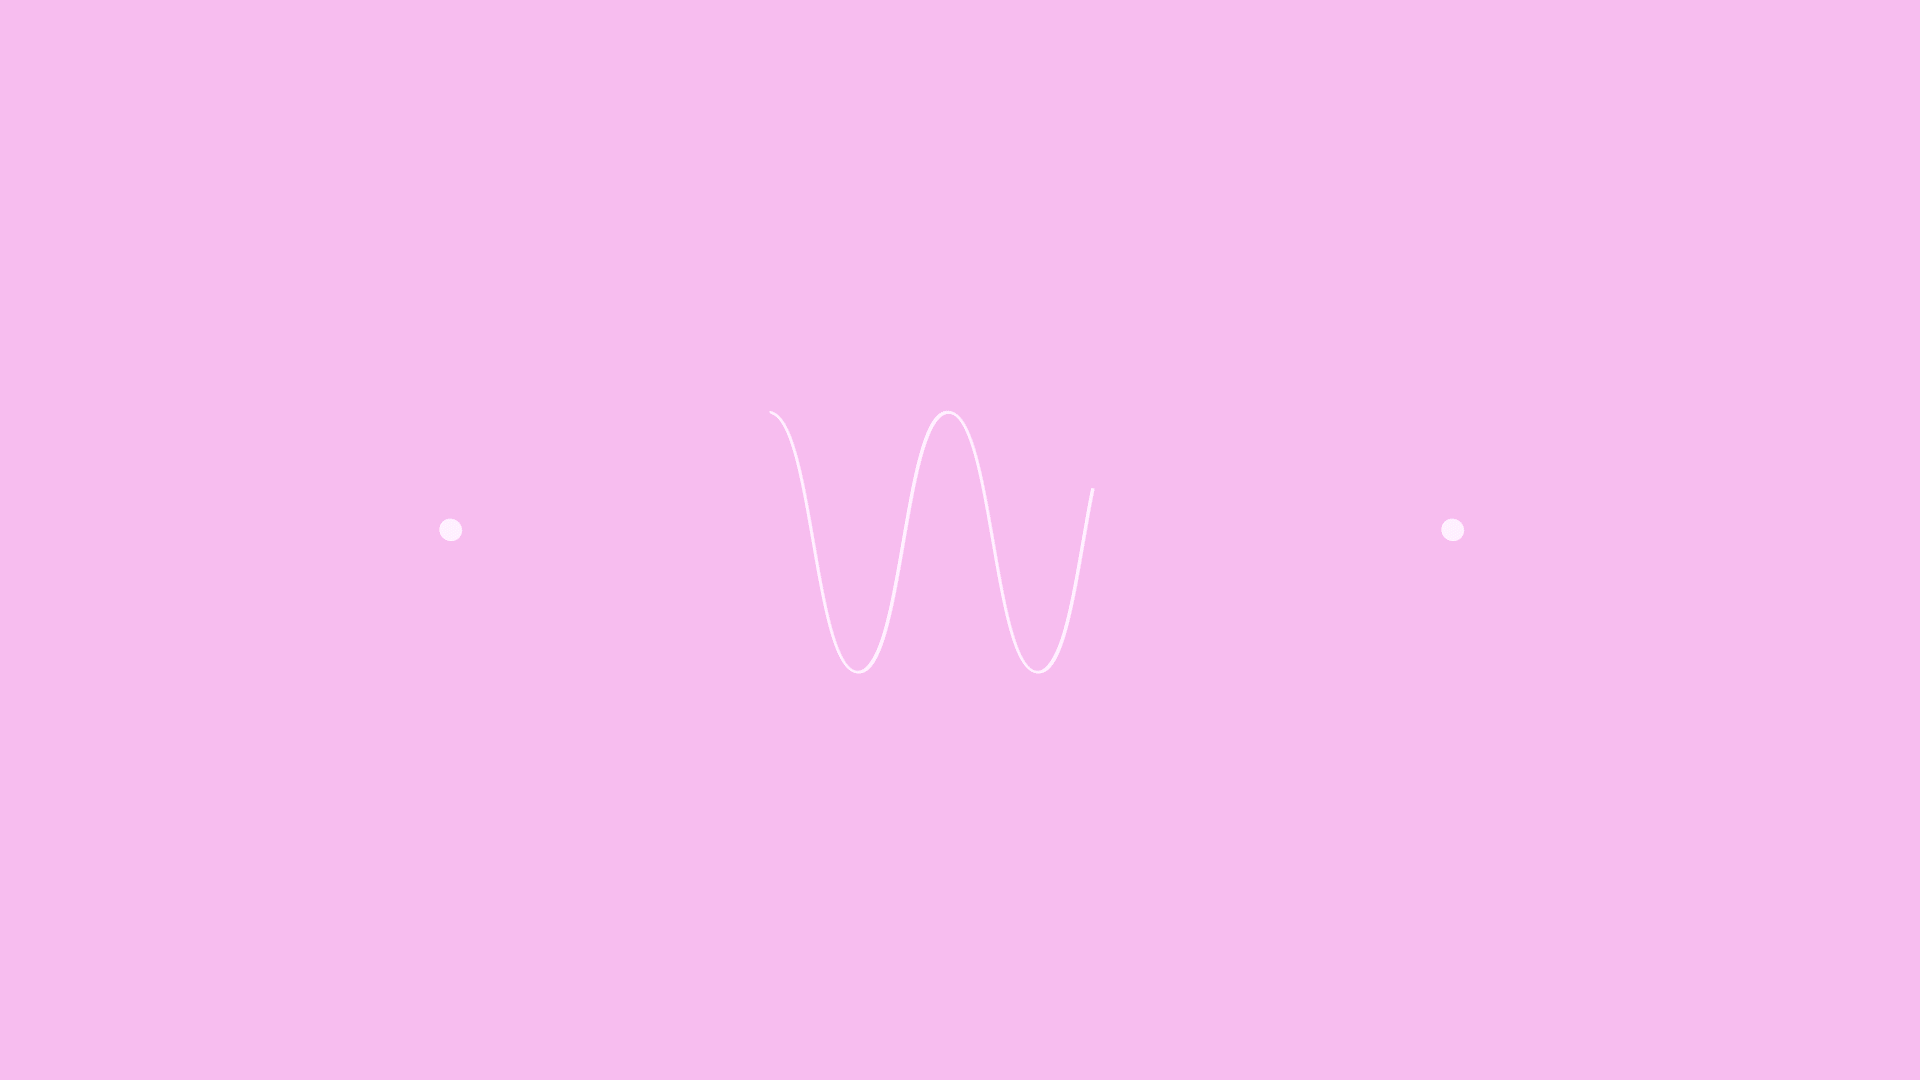
I added a Trim Paths effect for waves and then created Keyframes for the Endpoint. I added keyframes for Offset and Position and a loopOut() expression to get an infinite effect of the line. I added keyframes to the Position and a loopOut("pingpong") expression to animate circles.

For this, I added keyframes for Scale, Position, and Rotation + added some Echo effect for the main ball. I parent each row of balls to the null objects and align an Anchor point to the middle. I have 5 rows of balls and 5 null objects. In this way, I could animate my null objects by scale in the way on the picture.

For this, I used keyframes for Scale, Position, and Rotation + add some Echo effect. I utilized various After Effects techniques, including keyframing, easing, and layer manipulation, to achieve natural timing and expression changes. The design is simple yet effective, with a strong emphasis on clean lines and vibrant colors that make the character's smile both engaging and memorable. This project showcases my ability to blend technical animation skills with storytelling to create a mood-lifting experience.

The animation was inspired by the famous influencer Dan Koe
https://www.instagram.com/thedankoe/
Dan Koe’s content resonates with me because of his clear, actionable insights on personal growth, entrepreneurship, and the mindset needed to thrive in the digital world. His ability to blend minimalist lifestyle principles with productivity tips provides a fresh perspective on achieving both success and balance. What I appreciate most is his focus on intentional living — cutting through distractions to focus on meaningful work that aligns with personal values.
While exploring his page, I’ve learned the importance of designing a lifestyle that revolves around purpose rather than hustle for the sake of it. His posts often highlight how building systems, creating boundaries, and embracing discipline can lead to freedom and creativity. Dan also emphasizes how leveraging the digital economy can open up new opportunities, inspiring me to think beyond traditional career paths. Overall, his content encourages me to focus on self-awareness, continuous learning, and creating a sustainable path toward both success and fulfillment.
I’ve been experimenting with some cool 3D motion graphics, and what better way to practice than animating a Rubik’s Cube? 🧩🎥 This one was so much fun to work on! Here's a quick breakdown of my process:
⠀⠀
🖥️ Step 1: Designing the Cube
Started by designing a cube from scratch! Each face of the Rubik’s Cube is made of individual layers, each color representing a different side.
⠀
📐 Step 2: Setting Up 3D Layers
After laying out the cube, I enabled 3D layers in After Effects. This allowed me to manipulate each side in a 3D space, giving that authentic "twist" effect as the cube rotates. Precision is key here – each movement needs to look realistic and fluid.
⠀
🔄 Step 3: Animating the Rotation
Next came the fun part: animating! I used keyframes to control the cube’s rotation.
⠀
💡 Step 4: Tint effect
To enhance the 3D effect, I added Tint effect and shadows. Playing with After Effects’ lighting tools made the cube feel more dynamic.
🎯 Step 5: Final Polish & Render
Once the animation felt perfect, I fine-tuned the easing for a natural look and rendered the scene at high resolution.
⠀⠀